Background
I have a heater and I hope it could be closed late in the night (after I fall asleep) and be opened early in the morning (before I get up).
The heater has a IR remote control. So I'm thinking if I could simulate the IR signal using Arduino. It turns out to be easy. There are only two steps involved. First is to record the IR signal and second is to send it.
Preparation
Hardware

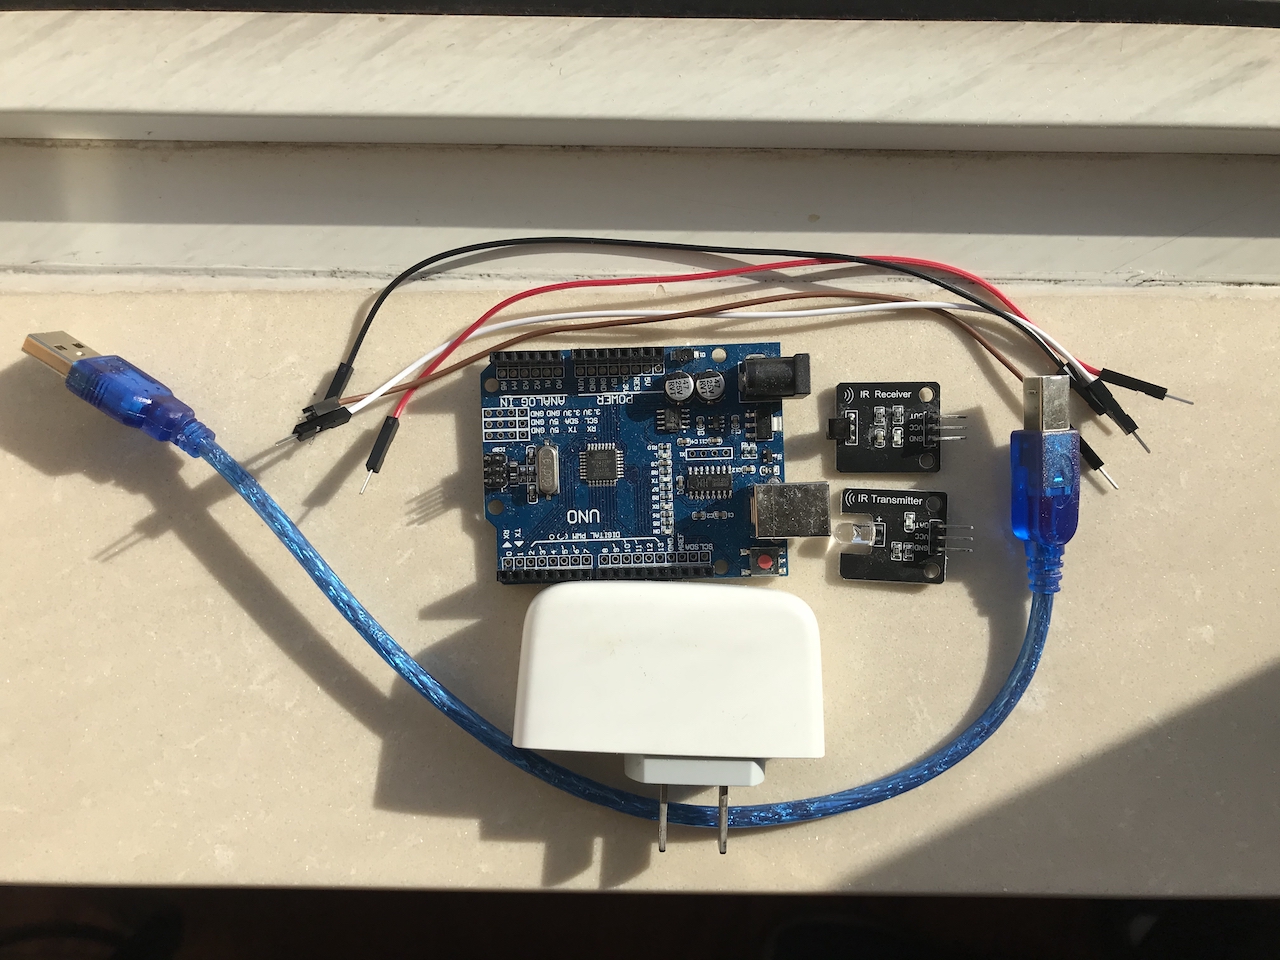
- Arduino UNO
- IR Receiver module
- IR Transmitter module
- Others: charger, USB cable and jumper wires
Software
You need to install a library called IRremote with specific version 2.2.3. If you install the wrong version, the error below may be thrown when the codes are being compiled.
usecpertick was not declared in this scope
Record IR Signal
Connect pin DATA/OUT from IR receiver module to pin 11 on Arduino UNO, VCC to 5V and GND to GND.
Try the codes below:
#include <IRremote.h>

int RECV_PIN = 11;
IRrecv irrecv(RECV_PIN);
decode_results results;

void setup() {
  Serial.begin(9600);
  irrecv.enableIRIn();
}

void loop() {
  if (irrecv.decode(&results)) {
    dump(&results);
    irrecv.resume();
  }
}

void dump(decode_results *results) {
  int count = results->rawlen;
  Serial.print("Raw (");
  Serial.print(count);
  Serial.print("): ");
  for (int i = 0; i < count; i++) {
    Serial.print(results->rawbuf[i]*USECPERTICK);
    Serial.print(",");
  }
  Serial.println();
}
Open the serial monitor. Point the remote control to the receive module and press one button. If everything goes well, you should see one line of numbers.
Raw (72): 14358,4450,4450,450,1550,400,1550,450,1550,450,1500,450,1500,450,1500,500,2450,450,1500,450,2450,450,1550,450,2450,450,1500,450,1500,450,1550,450,2450,400,1550,450,1550,4400,4450,500,1500,450,1550,400,1550,400,1550,450,1550,450,1500,450,2450,450,1550,400,2500,400,1550,450,2450,450,1550,400,1550,400,1550,450,2450,450,1550,450,
If you press the same button again, you will see another similar line of numbers. You can choose either line of numbers. Remove Raw (72): and the first big number 14358. Copy the remaining numbers. That's the data we need to send in the transmitting process.
Send IR Signal
Connect the pin DAT on the IR transmitter module to Arduino's pin 3, VCC to 5V, GND to GND.
The codes are super easy.
#include <IRremote.h>

IRsend irsend;
unsigned int key_name[71]={4450,4450,450,1550,400,1550,450,1550,450,1500,450,1500,450,1500,500,2450,450,1500,450,2450,450,1550,450,2450,450,1500,450,1500,450,1550,450,2450,400,1550,450,1550,4400,4450,500,1500,450,1550,400,1550,400,1550,450,1550,450,1500,450,2450,450,1550,400,2500,400,1550,450,2450,450,1550,400,1550,400,1550,450,2450,450,1550,450}; // Numbers we got from last step, here 71 is the length of all the numbers

void setup() {}

void loop() {
  irsend.sendRaw(key_name, 71, 38); // Change 71 to the length of all the numbers and keep 38 unchanged
  delay(5000);
}
Point the transmitter module to your device and make sure they are close enough. If you are lucky enough, the device should receive the IR signal and work as it should be. The only difference is the signal is not sent by the orginal remote control but by our Arduino UNO.
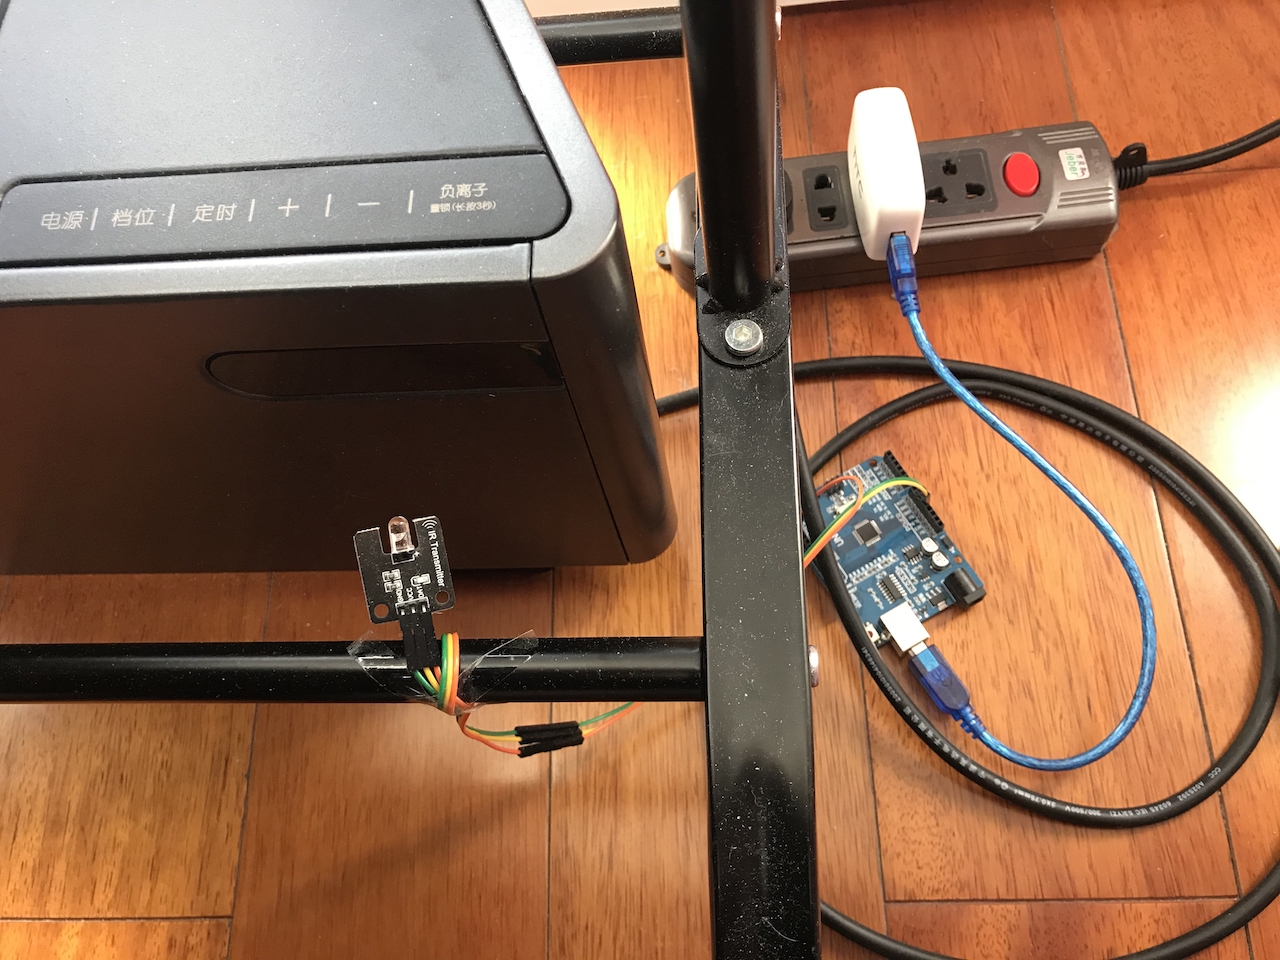
Here is the picture of the final result. The power supply used to be two batteries, but I found they can only work for about two days. So I replace them with a charger.

Add-on
Now we are able to send IR signal using Arduino, but there is still one more question. How can I control when to send it?
Actually this question cost me more time than sending the signal using Arduino itself. If Arduino has something like cron in Linux, that would be great. Luckily, with the help of two libraries, we can acheive that in Arduino.
The two libraries are Time and TimeAlarms. They are from the same author which means they work well with each other.
The complete sketch could be found here.
Reference